Fiberglass fixin’
How much would you pay to learn how to do a proper fiberglass repair? Given that it’s a pretty important skill to have when your home happens to be a boat made out of the material, I figured that if I were to invest $150.00 to acquire this knowledge, it would be money well spent. Now to be honest, I wasn’t really paying our friend Alvin to teach me how to do this type of repair. Rather, we had employed him to fix a crack on our boat which has existed for the past two years. In my mind though, while he was making that repair, I was going to school.
Note: Other than the couple of times that we have taken sails to a loft to have professionally sewn, and the two refrigeration mechanics that we had visit our boat to get our fridge working again (note that it took two, because the first one didn’t do it properly), we have never paid anyone to work on our boat. We have either done it all ourselves or had friends lend us a hand. In spite of my desire to “do it myself,” I knew that this job was beyond my limited fiberglassing skills. Next time though, I’ll be prepared.

I first wrote about this crack two years ago.

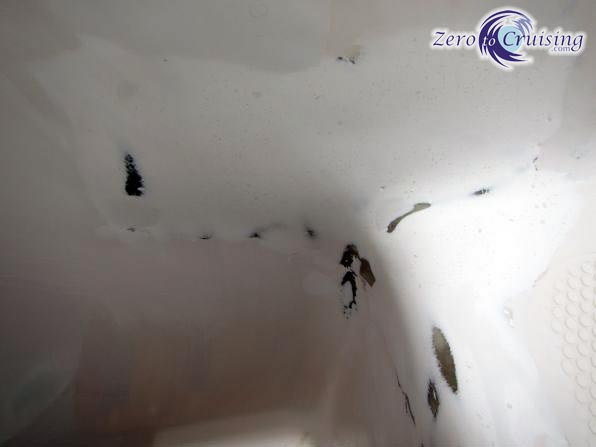
Step one was to remove the gelcoat and some of the fiberglass material underneath it.
It was apparent at this point that the repair that I had attempted to do from behind the crack was doing absolutely no good.

A paste was made up of polyester resin, hardener…
and very fine filler…

…and was used to fill all of the voids.

Many layers of fiberglass mat were then laid in, wetted out with more polyester resin.
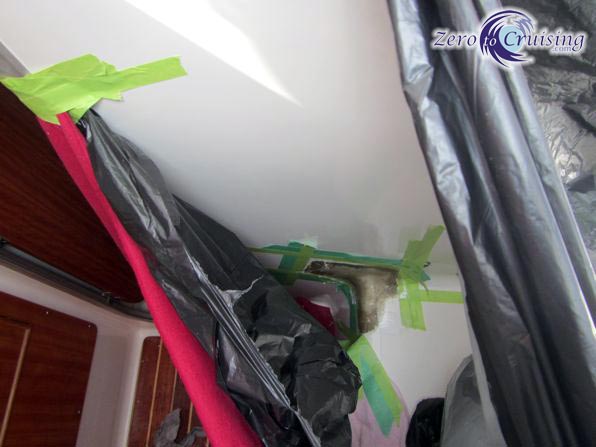
Before sanding we tried to block off the area as best we could to
limit the dust that would be released into the boat.

A sander/grinder, and then later a Dremel tool, were used to sand the edges smooth.

Much stronger now.
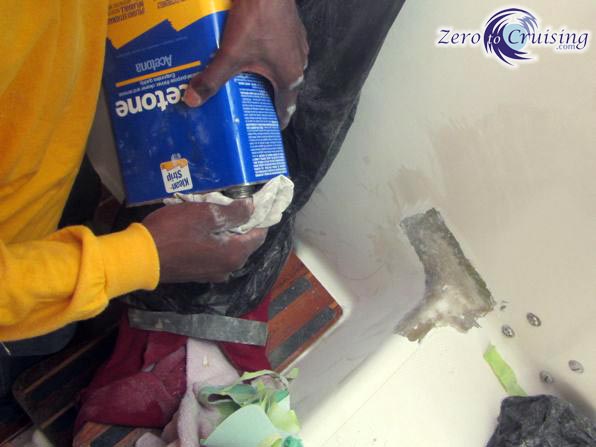
Acetone was used to clean the surface before we began and in between each of the steps.

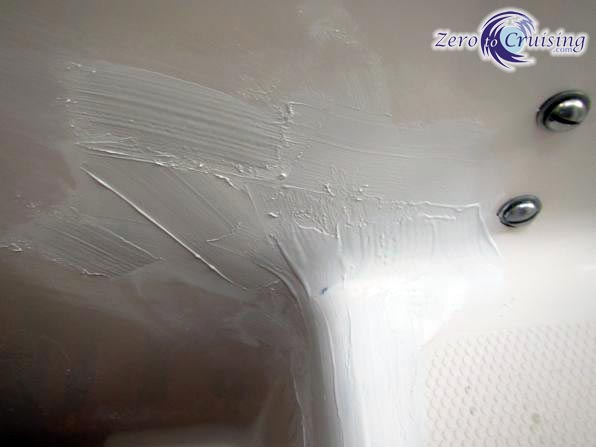
A paste made up of white gelcoat with wax, hardener and West Systems 403 filler was then applied.

With gelcoat paste applied.

Smoothing the paste out a bit.

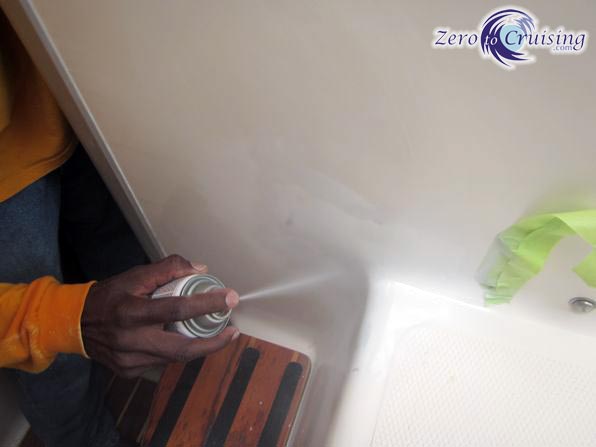
Another coat of gelcoat, this time without the filler, was then applied.

MUCH wet sanding then took place, first with course sand paper and then later, with much finer material. Here you can see the area after having been sprayed with soapy water.

White glazing putty…
…was used to fill any low spots. Again, more sanding!
After a lot of sanding.

Finishing touches were added with paint…
and a glossy clear cover.
Is it perfect? Can you see where the repair was made? It is extremely difficult to match the gelcoat color exactly so yes, if you know where to look and study it carefully, you can where the repair was made. It looks much better than it did though and more importantly, the area which was obviously laid up much thinner than the rest of the boat has had its strength increased. Hopefully this will prevent any future problems. Thanks, Alvin!

Looks good……The only other thing you can do when the match can not be made is to mask all the surfaces to a natural break point and coat those surfaces too….
That’s a good tip. It would have been pretty much impossible to do in this situation but in other cases, it would be relatively easy to do.
Great post Mike. Hope you don’t have an occasion to try your newest skill by yourself, but good that you know how. With all those steps, you guys must have been at that all day, or did it take a few to let the various coats dry?
It took about 2/3s of the day. It actually was relatively cool yesterday so the stuff wasn’t drying as quickly as it could have. We have a few tiny voids on the boat that need to be repaired (as you may know, all boats have them). I know feel qualified to tackle those jobs. 🙂
Not bad for $150 and a 12 year old boat. It’s getting it completely “fair” that is the art work.
And this was a VERY tricky spot as you can see.
Thanks for this. Magnolia has a couple of places where the gelcoat has little cracks so I read wth great interest! Thanks
You’re welcome. Fixing a minor gelcoat issue should be relatively easy compared to this I would hope.
Very informative post Mike, thanks! I’ve only worked with fiberglass once before and have never dealt with gelcoat so that was great information. Did you guys decide that it was a manufacturing flaw instead of the stress you originally thought caused it? Hopefully with the strength of the added fiberglass layers that crack will no longer be a problem for you.
You’re welcome. I think the crack was caused by normal stresses to an area that was not laid up as thickly as the remainder of the boat.
Before I got into sailing, my hobby was building cedar strip canoes. These were fiberglassed for protection. I can tell you, the original work is much easier than a patch. For my utility canoes, finish wasn’t that big of an issue, but on the show/display canoes, I probably spent more time sanding (wood and fiberglass) than all other construction steps combined.
Glad you got the lesson, hope you never have to use it.
Me too. 🙂
Thanks for all the step by step details. I think fiberglass repair is something all boaters will run across if they stick with it long enough, so it’s good knowledge to have. We had a project boat a few years ago that ended up being a lost hope and we only got through the drudgery of breaking through the gelcoat and removing all the wet core underneath the fiberglass. We never made it to the nice finishing touches:) This post was a good refresher since we are now considering another “project boat”.
Good luck!
[nag]Let me respectfully suggest gloves and a better mask if you ever do this yourself. Once that resin allergy kicks in (or so I’m told) it’s one of those gifts that keeps on giving. Also, I understand that you have to work with what you have, but epoxy resin is generally easier to work with and smells a lot better. Well worth the extra cost, IMO. [/nag]
Nice pix. Amazing how much less threatening a job is if you can just see it done once or twice.
I do wear gloves when I use epoxy. Who am I to critique the professionals though? 🙂
Very nice work. Alvin is certainly a patient craftsman. Question: What is the 4 bolts in a square pattern right next to the repair?
They are part of the steering assembly. The wheel is on the other side of that bulkhead.
Ah, gotcha. Just wondering if it was load bearing and could be a part of the problem. Highly unlikely unless there was a considerable amount of stress placed on the steering from grounding or something, and that are was the weakest stress area.
It was obvious to me when inspecting it that that particular bit of glass was just thinner than all the rest. Why? I don’t now.
Mike,
Would you have to consider repairing the opposite side of that particular area? (for strength purposes )
Definitely would have preferred to do that it it wasn’t possible due to space constraints.
I was reading a book about boat repairs about a month ago. They had a chapter on fiber glass repairs. They had some pictures and a lot of good information. This makes it a lot more understandable. Between the two sources, I think I have a pretty good understanding. That is $150+ saved for me down the road. Another reason why I love this blog!
Glad you feel it helped you, Patrick.
With some things it really helps to have someone SHOW you how to do it, at least for visual learners like myself. Back when I knew nothing about outboard engines I would have happily paid someone to give me a lesson. That is why I was so disappointed with the maintenance course I took with the Power Squadron (I have written about this on our blog) because it had absolutely no practical component!
A low stress way to learn can be to build stuff that bolts on or such.
Like this trash can. It’s removable, so I can access the head pump.
http://sail-delmarva.blogspot.com/2010/03/few-more-pdq-upgrades.html
Or this epoxy/ply project.
http://sail-delmarva.blogspot.com/2009/11/under-bunk-stoarage-on-pdq-32.html
I think I learned the most building water and fuel tanks for my Stiletto 27.
All more relaxing than cutting into your pride and joy, though I am comfortable doing that now.
I agree. Much less stressful than cutting into the big boat!